
Hi all! I've been MIA for a while - I cannot even begin to explain the series of unfortunate events that have happened here over the last month and a half! Our life has not been our own....that is for sure! There has been a few awesome events happen though - I'll share those, they are much more fun! I entered the Great Pinterest Hunt contest on one of my favorite blogs of all time - I Heart Naptime......and I won something! OMGosh, and not just something......something awesome!! I am so excited to get it and get it all set up. This is what I won......

Amazing, right??!!!! It is the Scrapbox Workbox, but that's just one of their many amazing products. If you've ever dreamed of truly getting organized, these people have made your job easy! Go check out their website - www.theoriginalscrapbox.com. As soon as I get it, I will take pictures to show you!
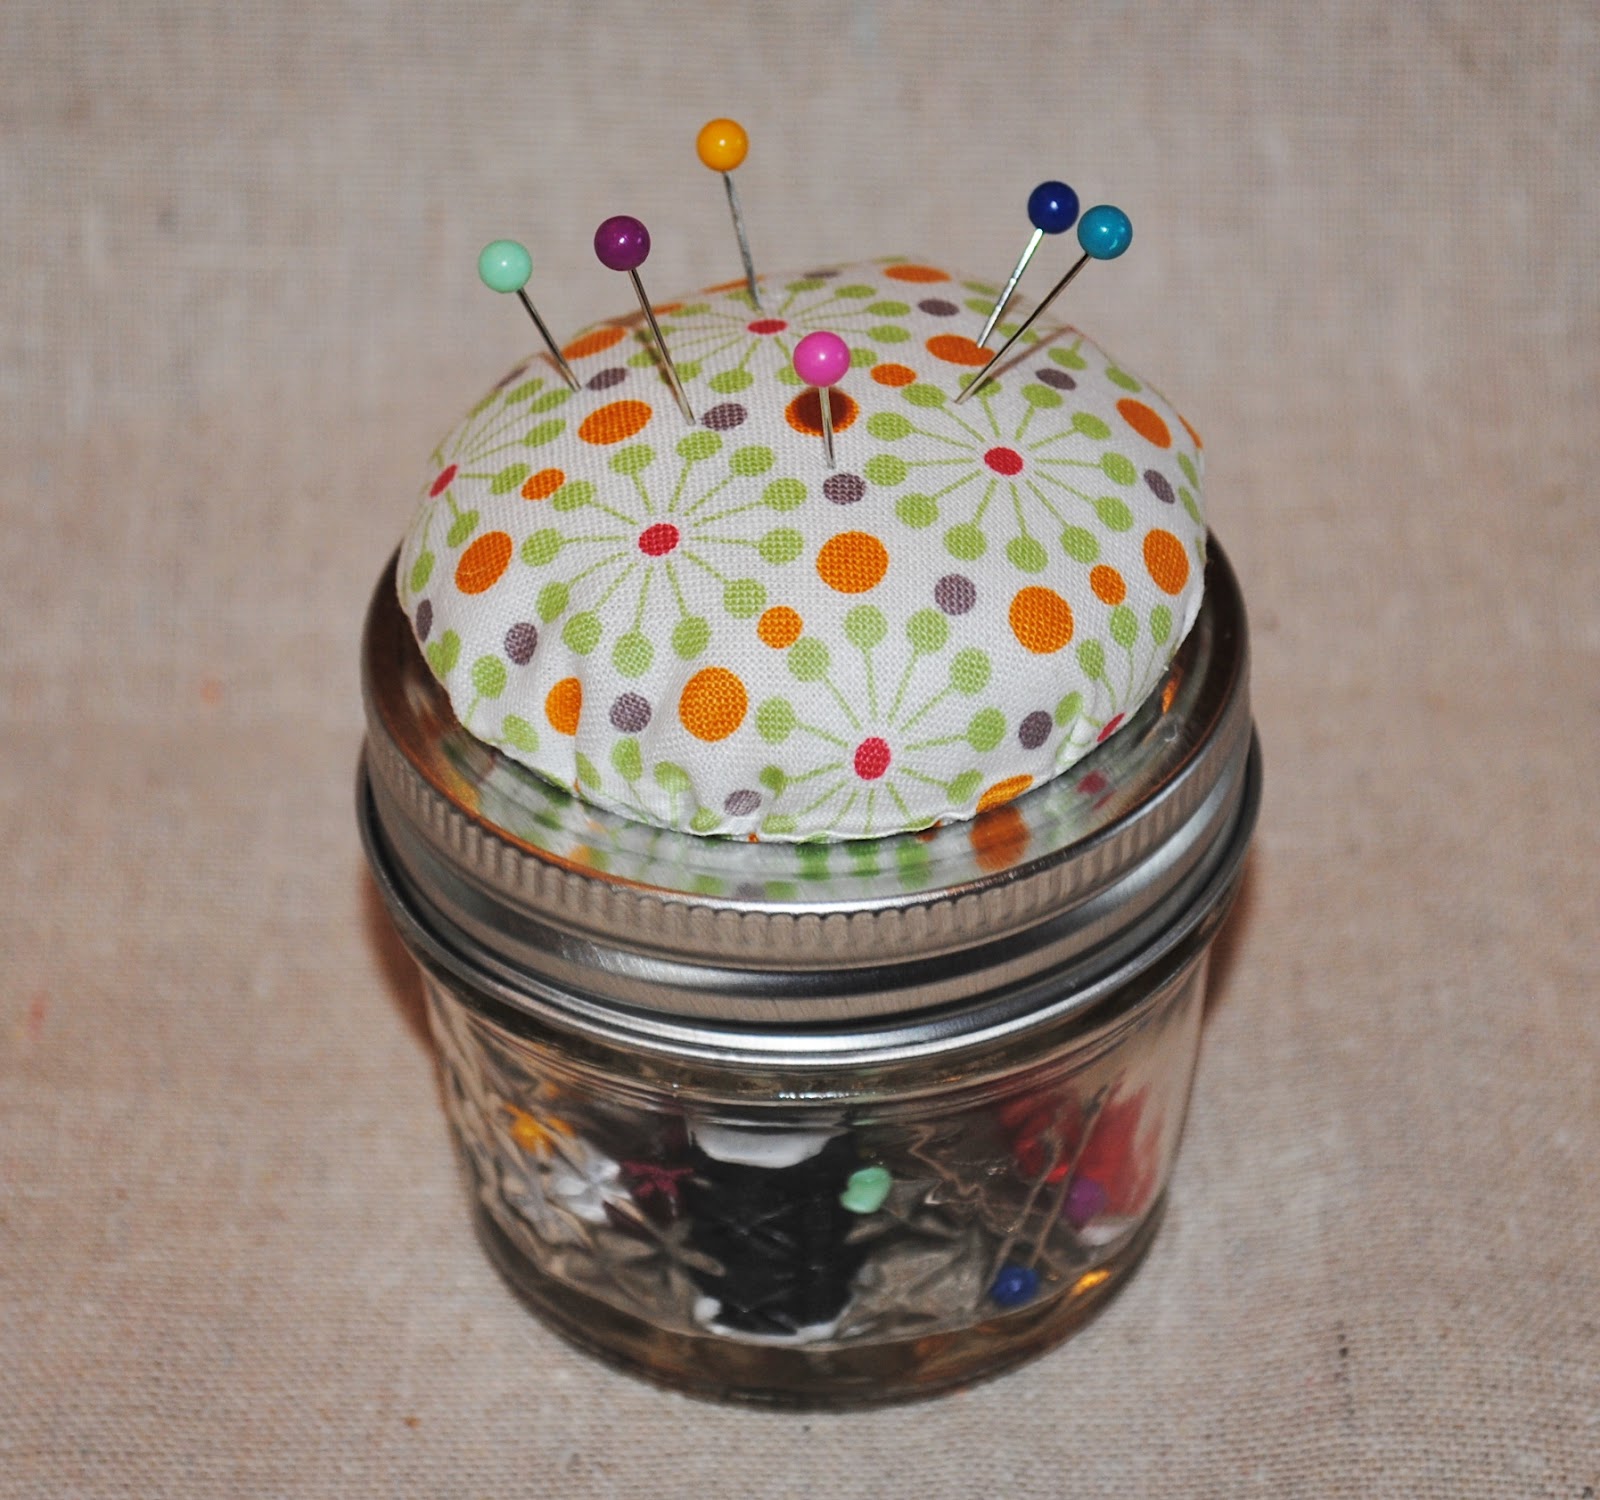
OK now on to why I title this post "Mason Jar Sewing Kit"!
This is a really fun project to make for yourself or to give as a gift. It's really pretty simple and I'm sure you could figure out how to do it by just looking at it, but I've put together this little tutorial on how to do it for you anyway just because it's fun for me.....and I'm just selfish like that.
Supplies:
Small Mason Jar with lid - I used one of the short jelly jars, but you could use any you want.
Sewing Kit - I bought mine at Walmart for $1.47!
Small scrap of fabric
Stuffing
Glue gun
Place sewing kit it jar

Here is a close up of the different items in the sewing kit. (tape measure, several small spools of thread, small scissors, straight pins, thimble) You can be creative here and add a few extra items that may be relevant to the person you're giving it to.

Next, you need a scrap of fabric that is about an inch bigger than your lid all the way around. Use a pencil and draw a circle about an inch bigger than the lid, then cut out your circle.


Turn your fabric upside down and place your lid in the center. Using your glue gun, start adding glue around the red rim a little at a time and pressing the fabric down, gathering it a little as you go.

Do this until you have just a small opening left. You would be surprised at how easy it is to shove the stuffing in a small opening. I tried leaving it bigger, because I thought it would be easier, but it just made it harder to continue gluing with the stuffing already in there. This also gives you a better idea how much stuffing you need to get your desired "puffiness" for your pin cushion.


Finish by closing up the opening and pushing it through the rim and putting lid on jar. If you wanted it to have a more finished look, you could always cut a circle to glue down to cover up the raw edges underneath.
Put a few straight pins in and you have a stinkin' cute little sewing kit/pin cushion that all your friends will covet! I think even non-sewers would love to have this!
I would love for you to send me pics of yours that you make and I will post them here for everyone to see!
Thanks for stopping by! See you tomorrow for some fun drink recipes to make right in you mason jars using your blender!
No comments:
Post a Comment